HOW WE TRANSFORM YOUR CONCRETE SURFACES
The Step-By-Step Guide
People often wonder why we prepare concrete before coating. This process ensures it’s flat, clean, and has a proper scratch pattern for bonding. Just clear your concrete floor of any belongings or vehicles, and our team will handle the rest.
After finishing your floors, our team will supply you with a maintenance guide to assist in preserving their pristine appearance indefinitely. Our coatings are backed by a 15-year warranty, offering you assurance and security for your investment.
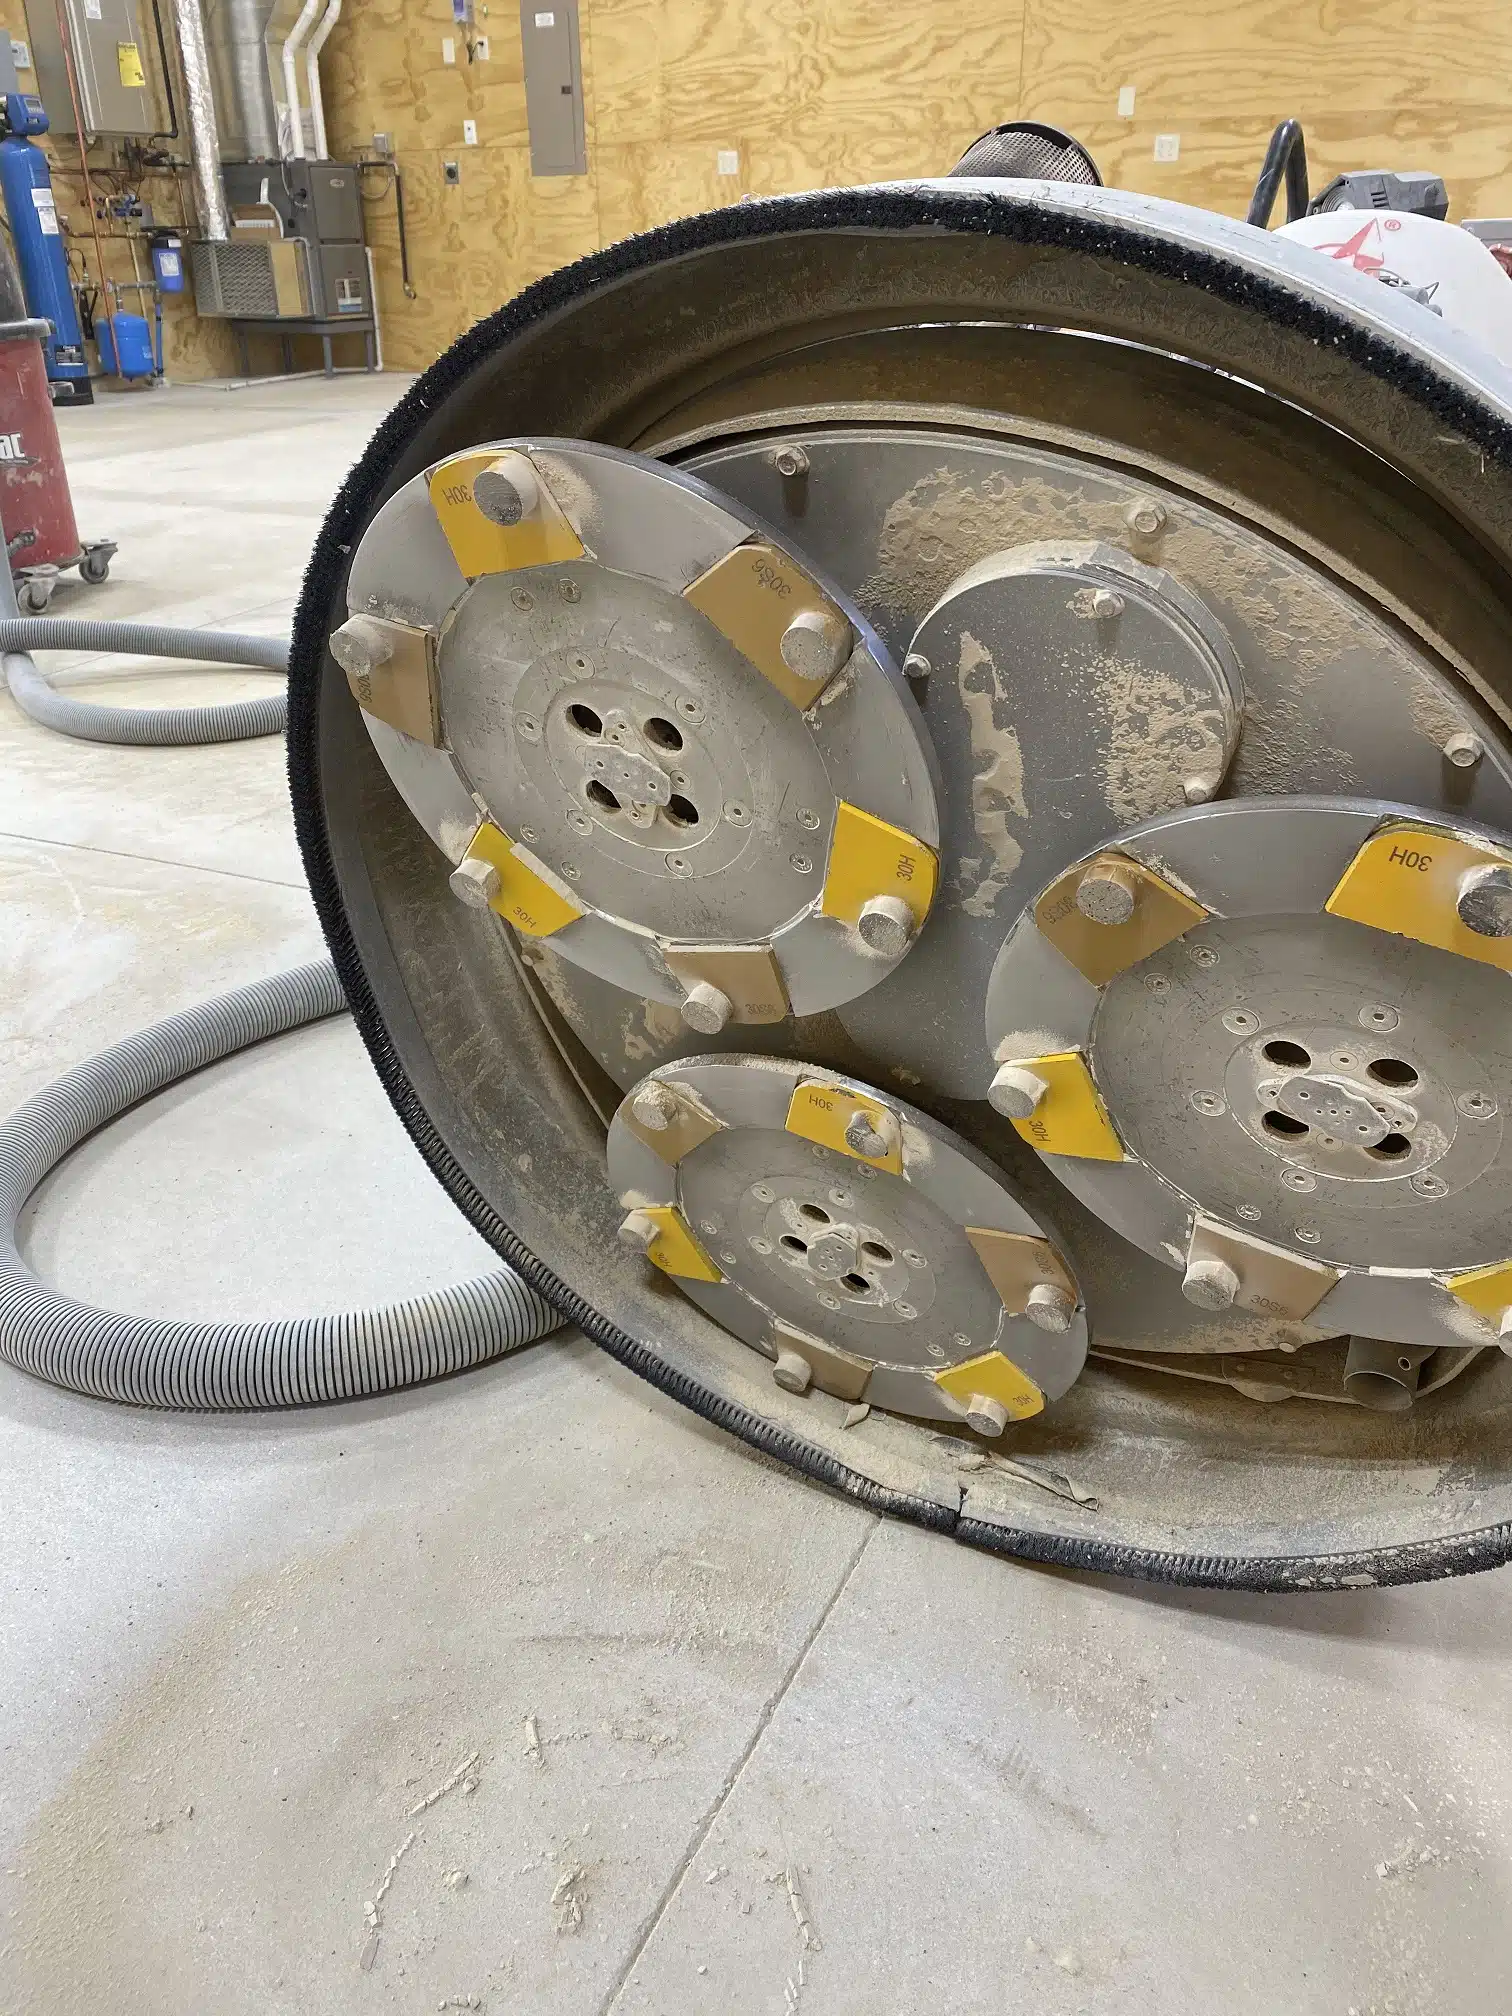
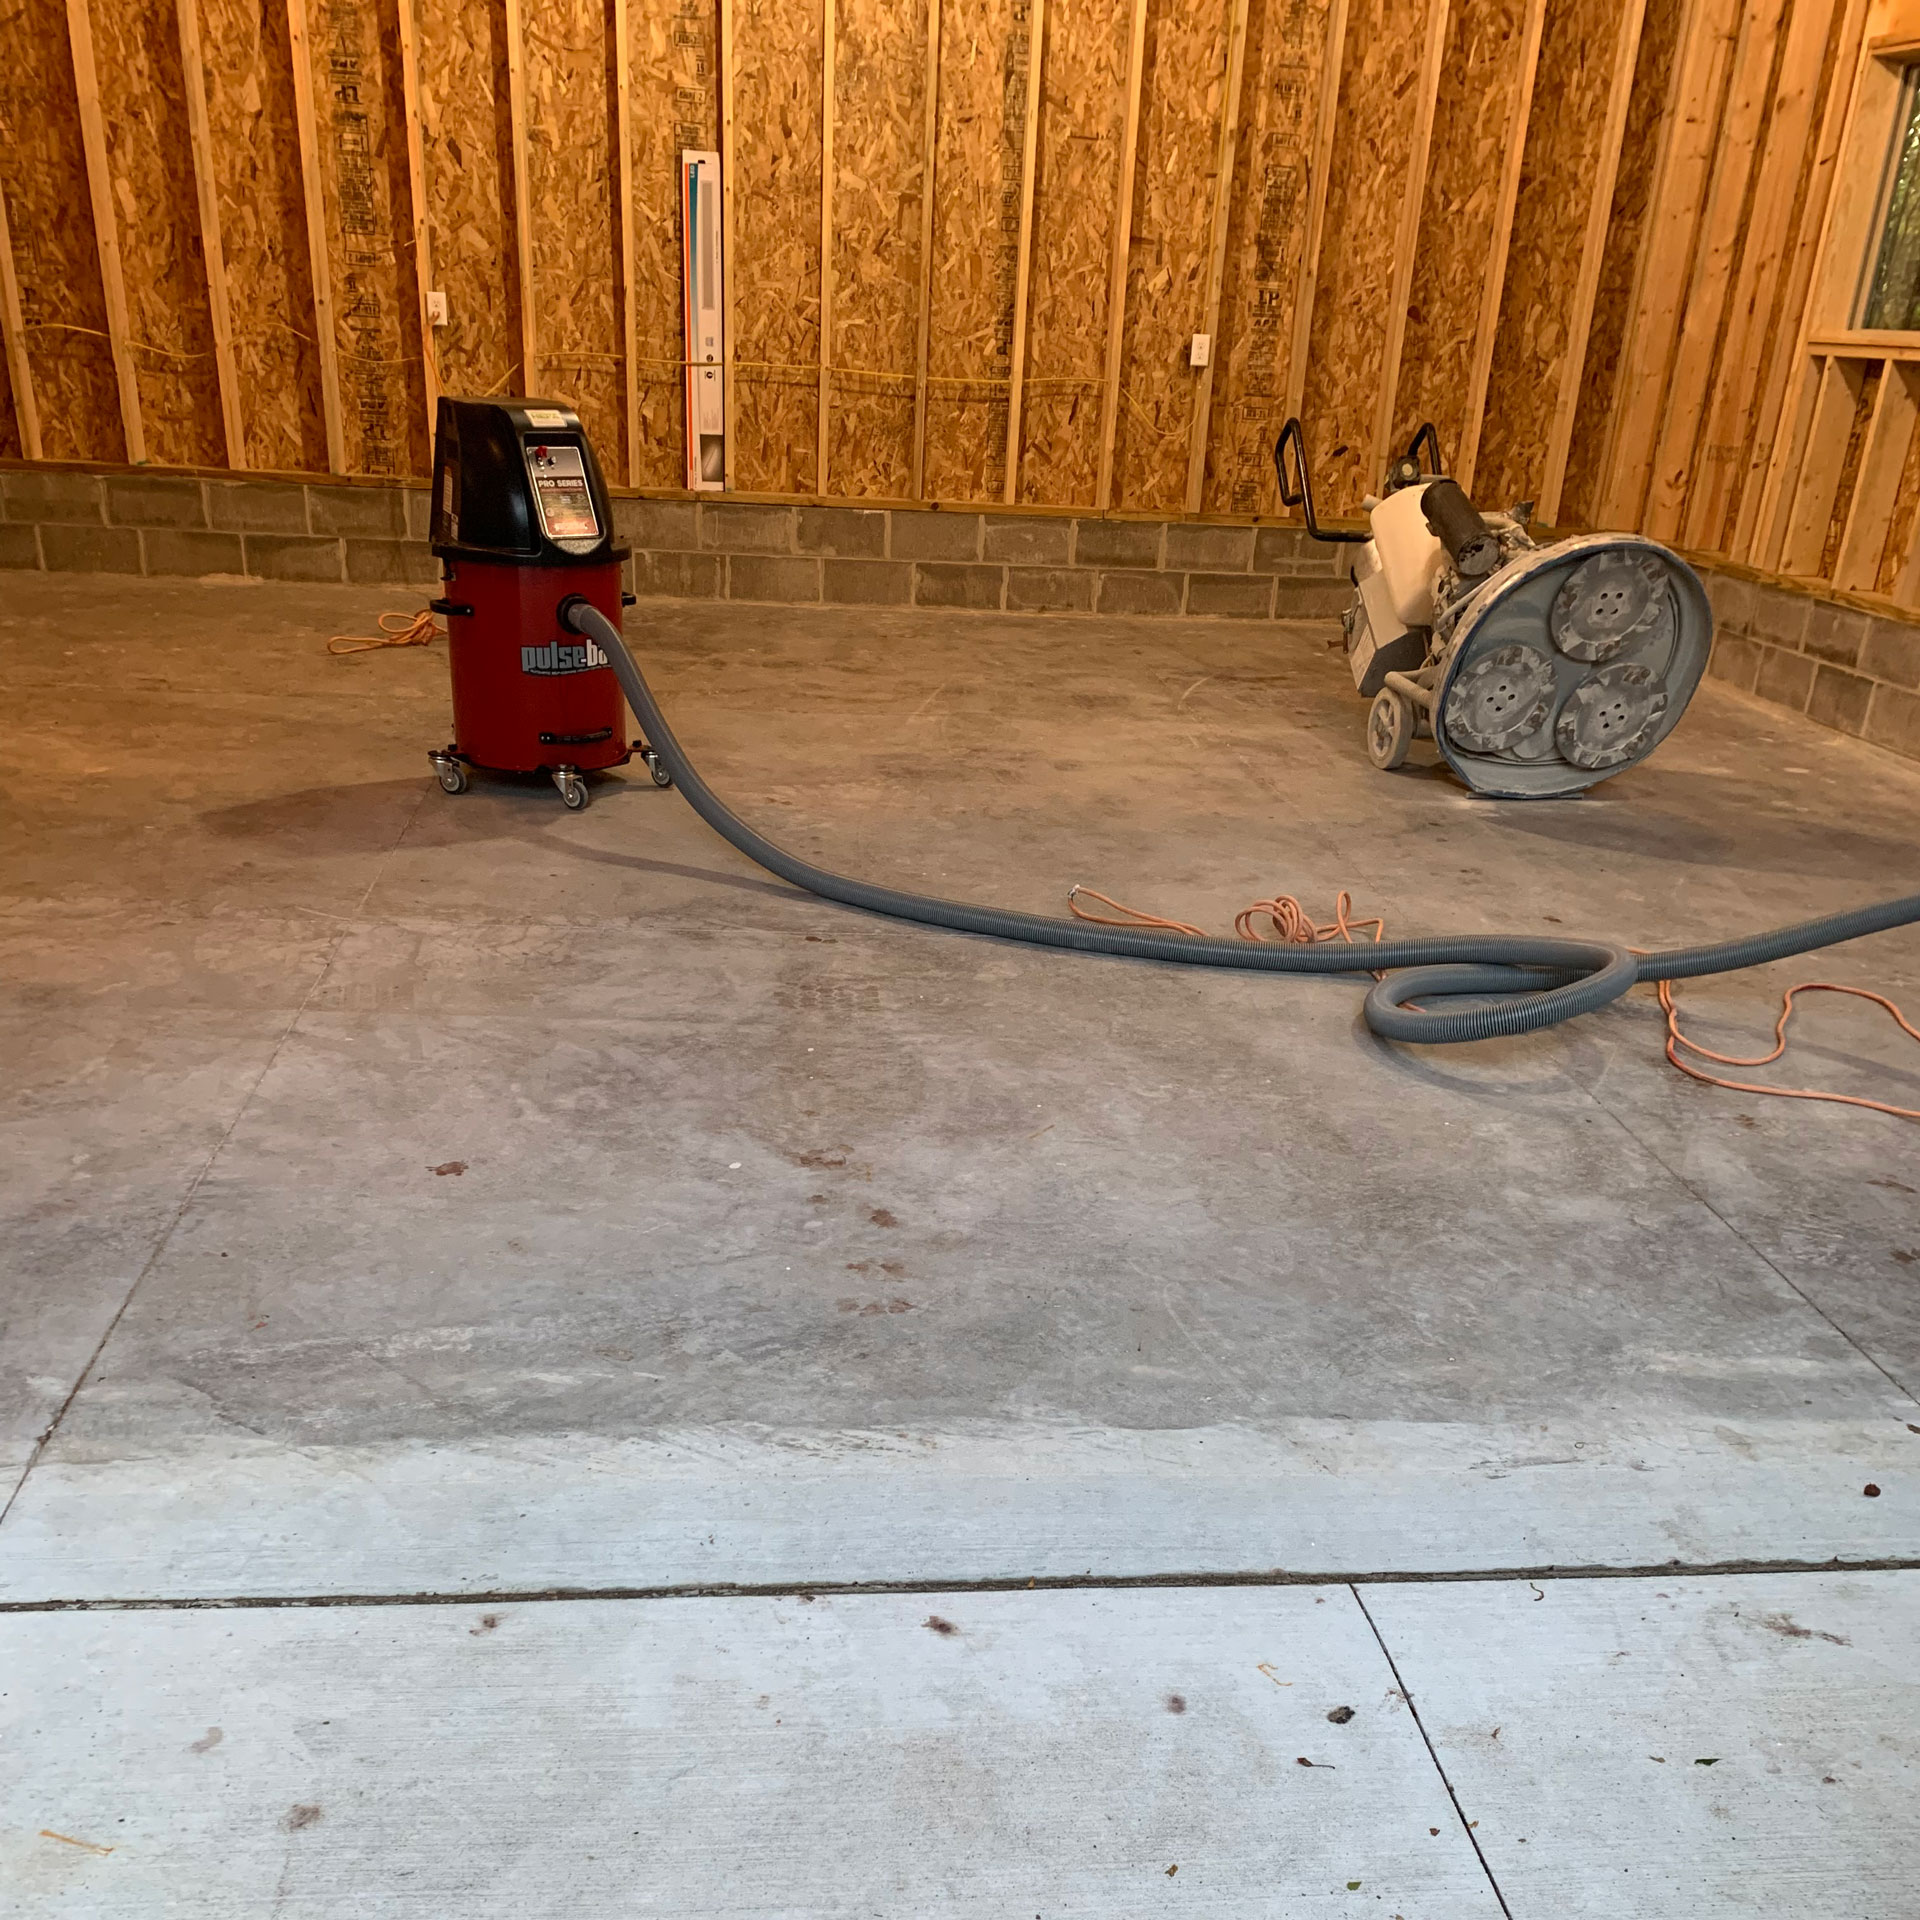
Step 1: Mechanical Dry Diamond Grinding
We begin the process by using advanced diamond grinders that mechanically grind down your concrete floor. This crucial step ensures a strong bond by opening the pores of the concrete and creating a properly profiled surface. Our equipment includes HEPA-filtration vacuum systems to minimize airborne dust, keeping the area clean and ensuring that the floor is ideally prepared for the coating.
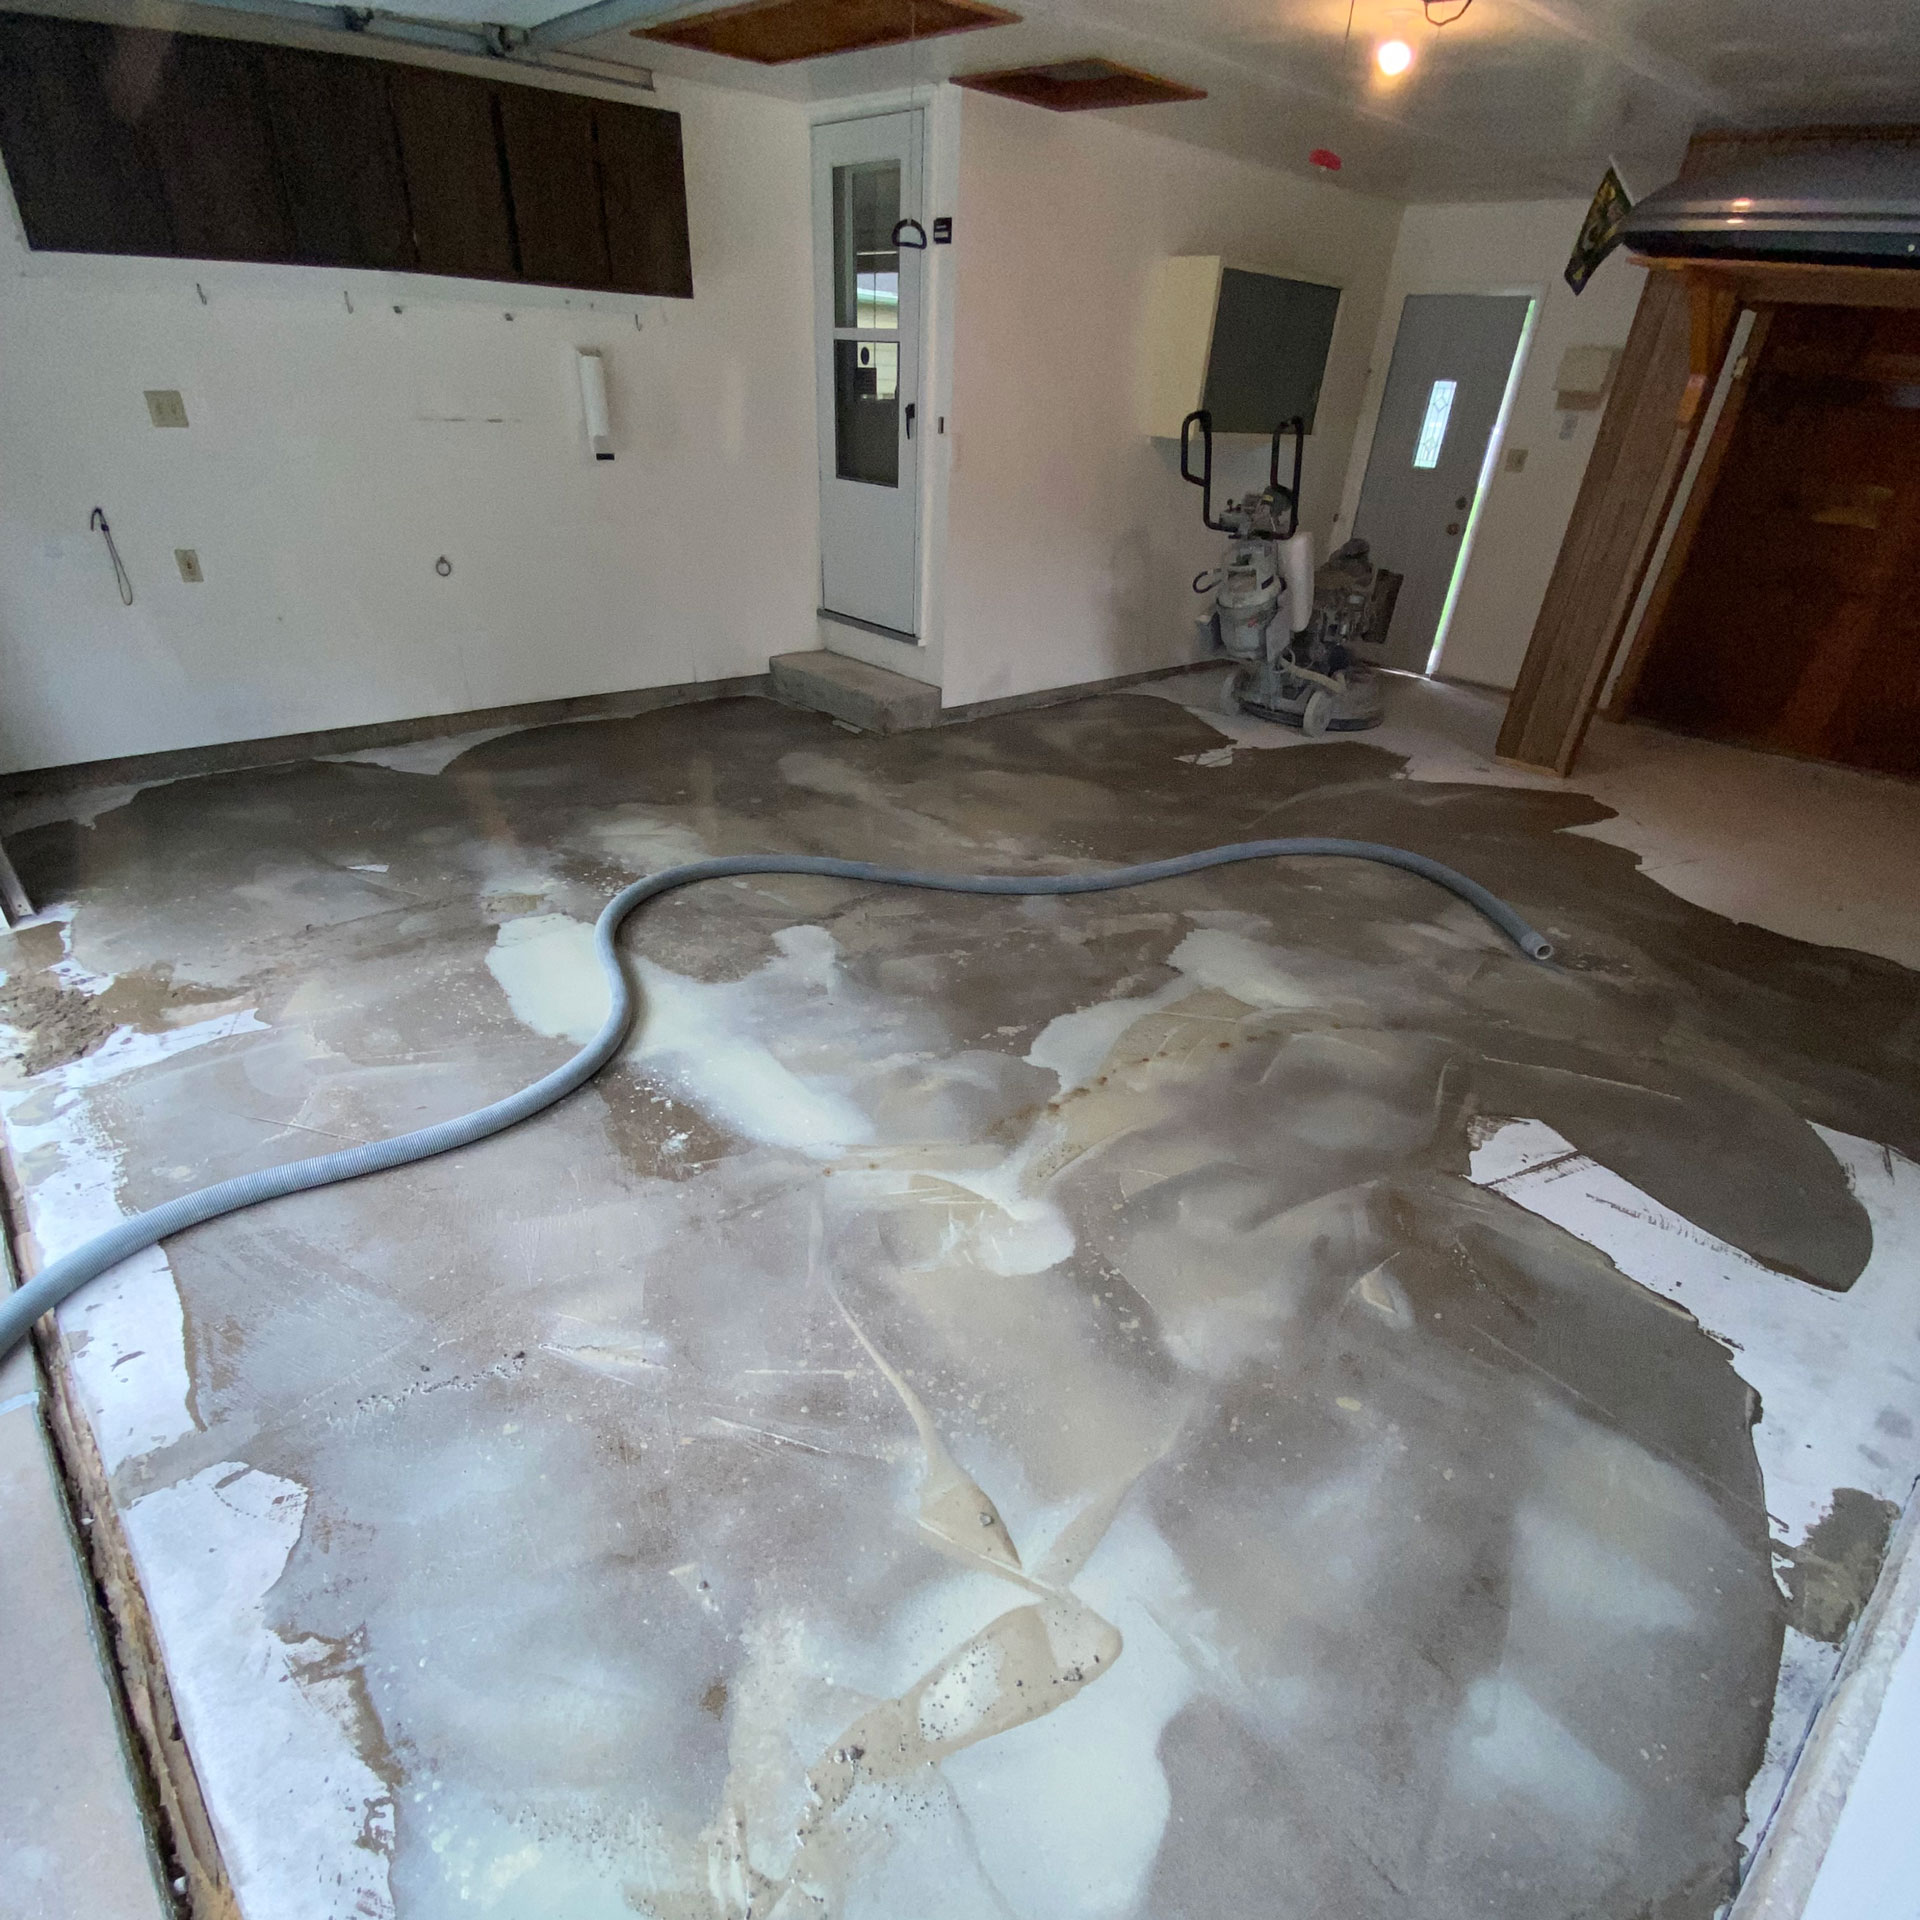
Step 2: Crack and Imperfection Repair
Next, we address any cracks or imperfections in the concrete. Using a specialized diamond crack chasing blade, we open up each crack to prepare it for filling. This allows our 100% Polyurea liquid crack fill material, which cures quickly within 5-10 minutes, to adhere thoroughly and effectively. We make sure every crack and imperfection is smoothly filled to create an even surface.
Step 3: Application of Tinted Primer/Base Coat
A tinted Polyaspartic Polyurea primer/base coat is then applied. This layer is not only crucial for adhesion but also sets the base color of the floor, matching the pre-chosen decorative flakes. The application is performed with precision using a 3/8 nap phenolic roller, ensuring an even and comprehensive coverage.
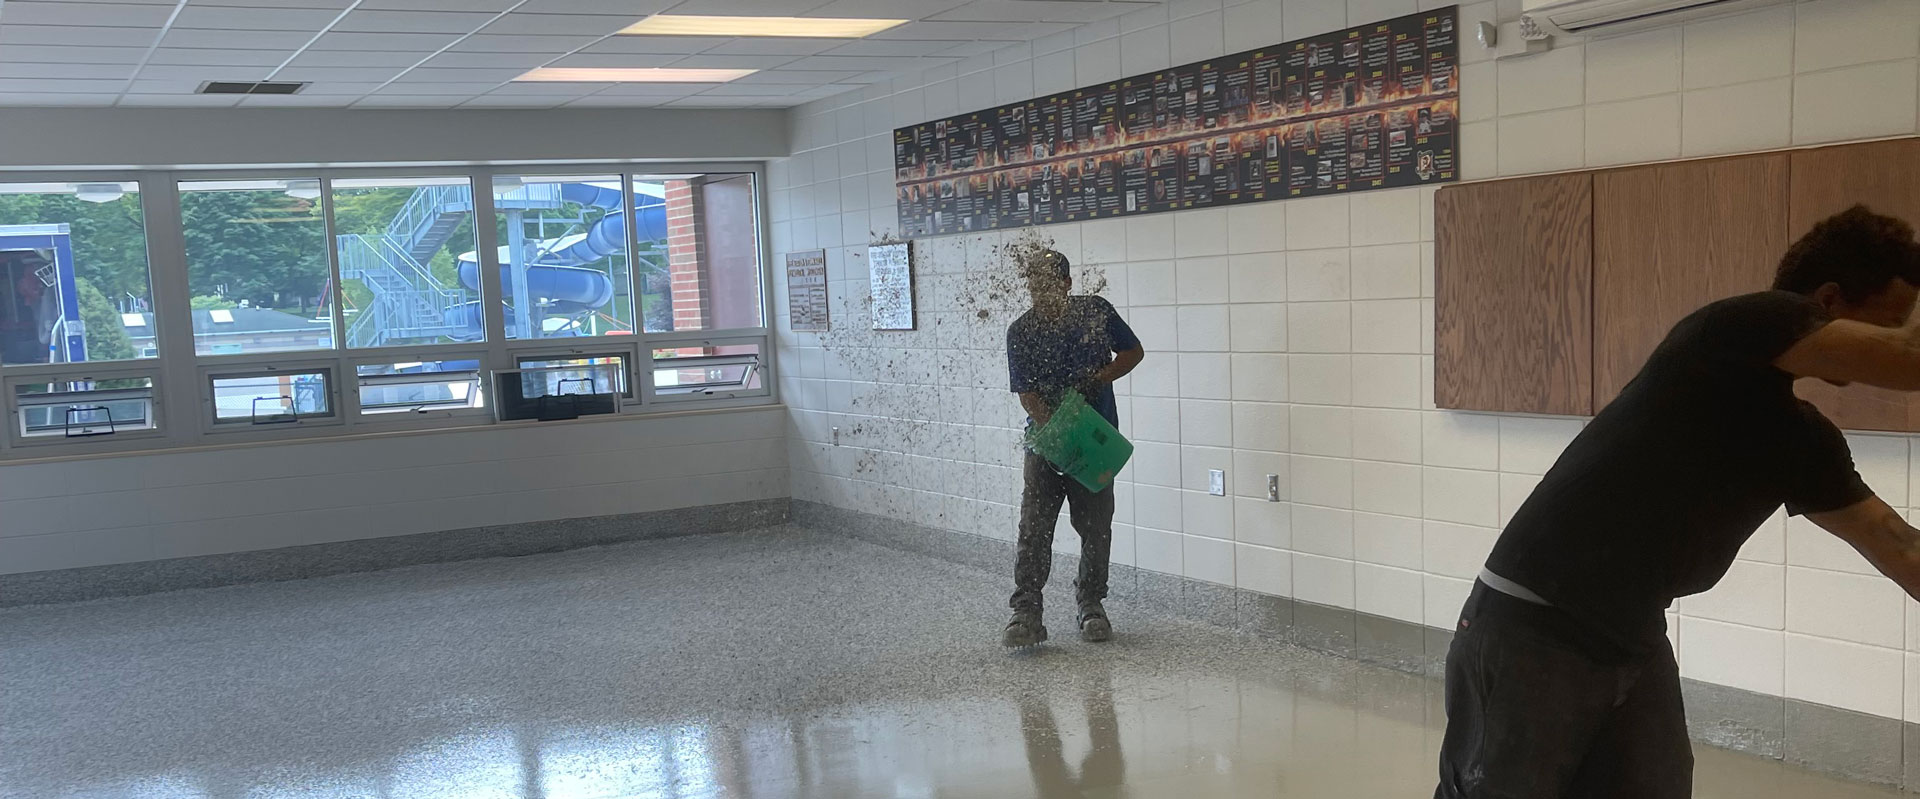
Step 4: Decorative Flake Broadcast
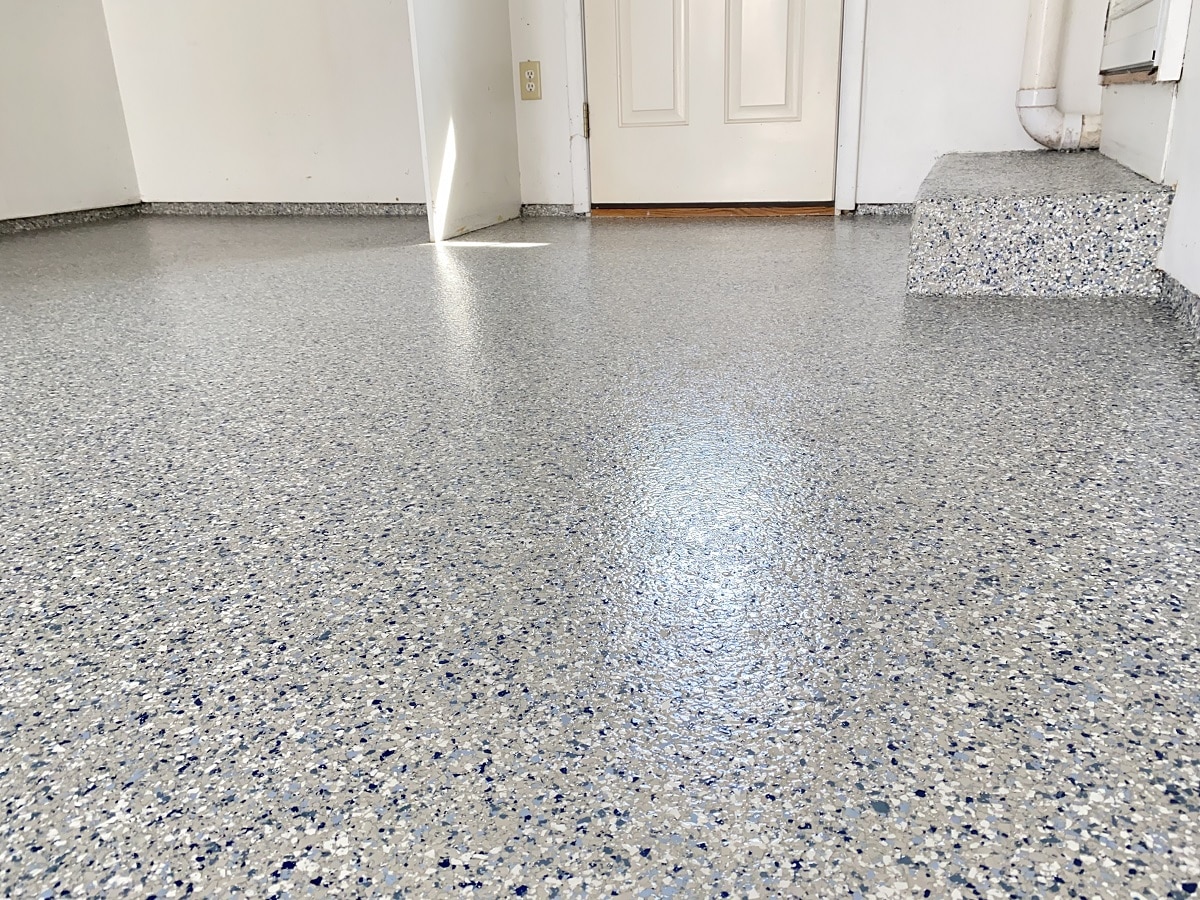
While the base coat is still wet, we broadcast decorative vinyl flakes over it to full coverage. After the base coat cures for about an hour, we remove any excess flakes and clean the floor thoroughly. This step adds visual depth and texture, enhancing the floor’s appearance and adding an extra layer of surface protection.
Step 5: Clear Top Coat Sealer Application
The final step is applying a clear, high-gloss Polyaspartic Polyurea top coat sealer. This sealer locks in the decorative flakes and provides a durable, protective finish. We apply this top coat with a squeegee and then smooth it out with a roller, ensuring a seamless and shiny finish that is resistant to chemicals, abrasion, and UV damage.
This detailed process ensures each layer works together to create a durable, visually appealing concrete floor that will last for years, adding both beauty and value to your space.
